
The first bathroom on the second floor is nearly complete. Naturally, marrying the 1928 technology to today’s standards requires some ingenuity. Additionally, building the first floor bathroom taught us to be very careful reworking the walls. This becomes especially true because I am using 12×24 inch tile, A small curvature in the wall leads to a large error in tile placement. The tiles do not bend. Straight walls are essential since I want smooth walls. There is no forgiveness.
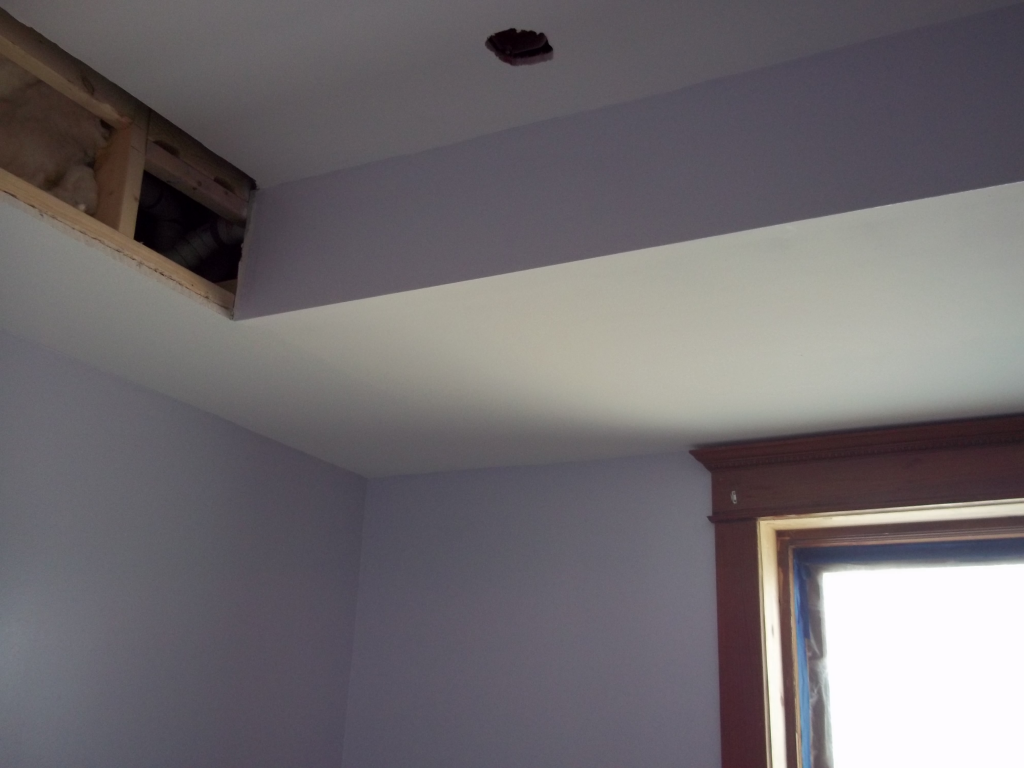
The ceiling has a complicated design in order to hide the conduit and piping. Dropping the ceiling as a one piece solid is not possible because of the height of the door and window. Not only is the electrical and plumbing above the ceiling and behind the walls, but conduit for the future fire detection system is also hidden there. A panel allows access to the plumbing.
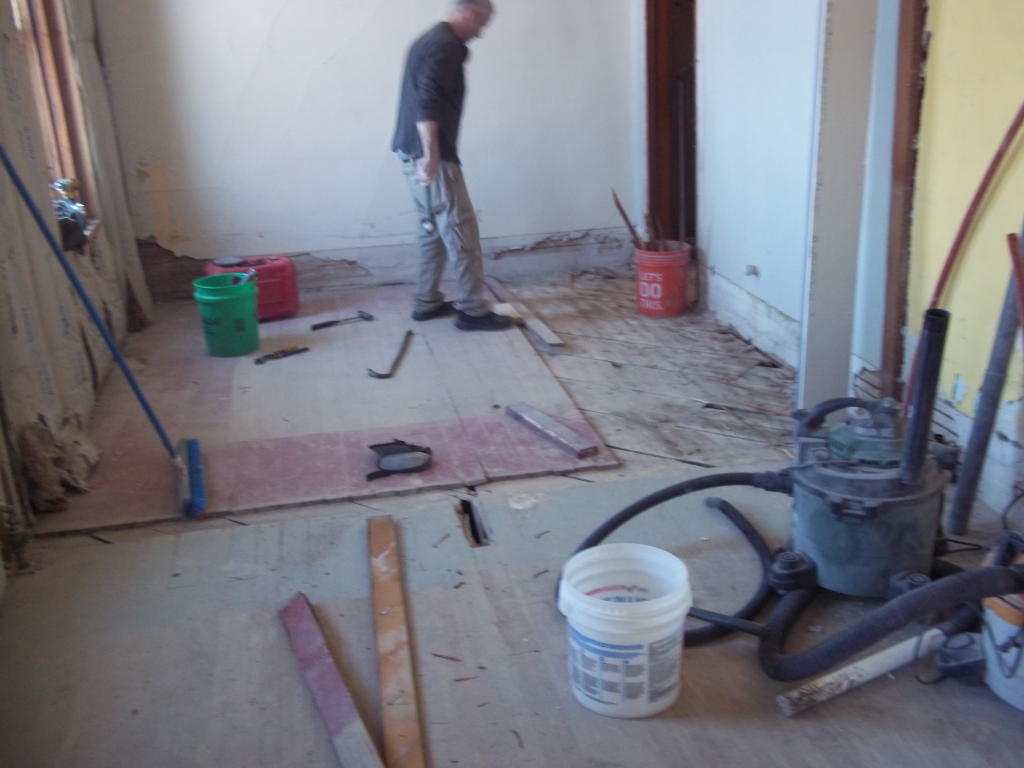
The second floor ceiling is ten feet tall so I have plenty of room for hiding things. Here is an earlier picture of the second bathroom. Not shown is the insulation between the floors. We also insulated the wall between the baths for a sound barrier . Here you can see that instead of cutting or drilling the floor joists, I placed the conduit on the bottom of the joists. To install the ceiling, I then glued a one and a half inch spacer, then another 2×4 to hang the waterproof gypsum. I also fireproofed the spaces between the joists.
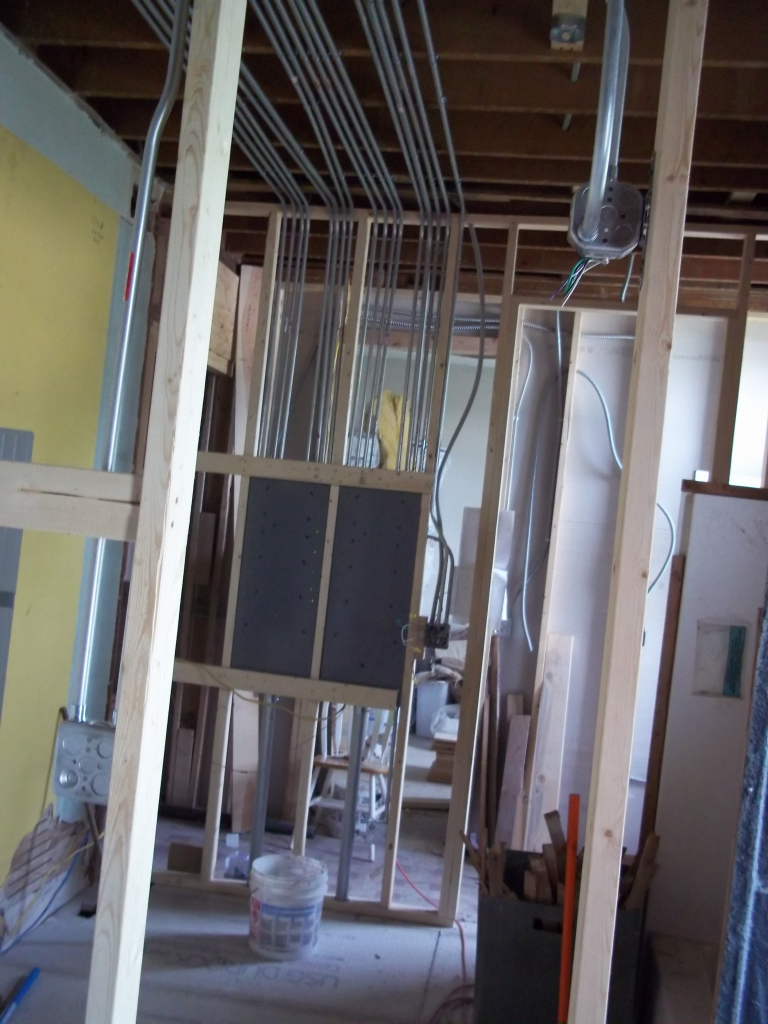
I installed two electrical panels, one for the third floor, the other for the second.
The tile floor and walls of the first bath is completed.
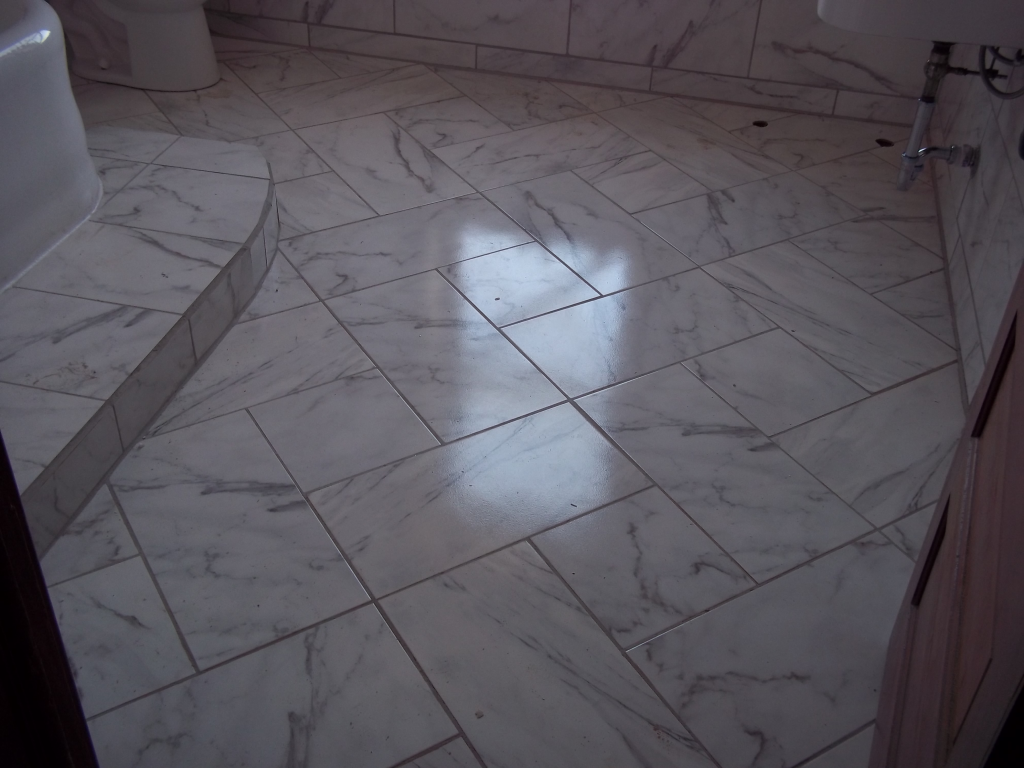
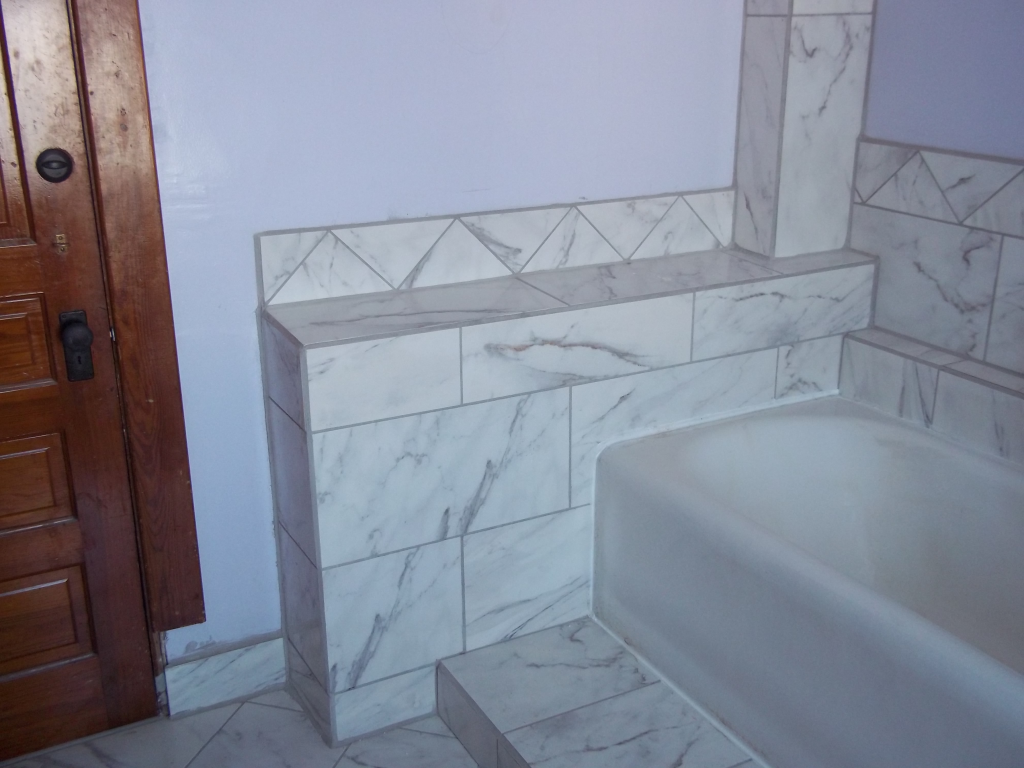
I selected this pattern and set it at a 45 degrees to keep things interesting and hide any variances along the walls. I will use this pattern for all baths. Although these floors show every speck of dirt, they are easy to clean.
A friend asked how thick my subfloor was. I told him. “We left the original diagonal 1×12’s. On top of that I placed 3/4″ CDX ply. On top of that we glued 1/2″ durock.” That’s a two inch subfloor. I do not want the tiles to crack.
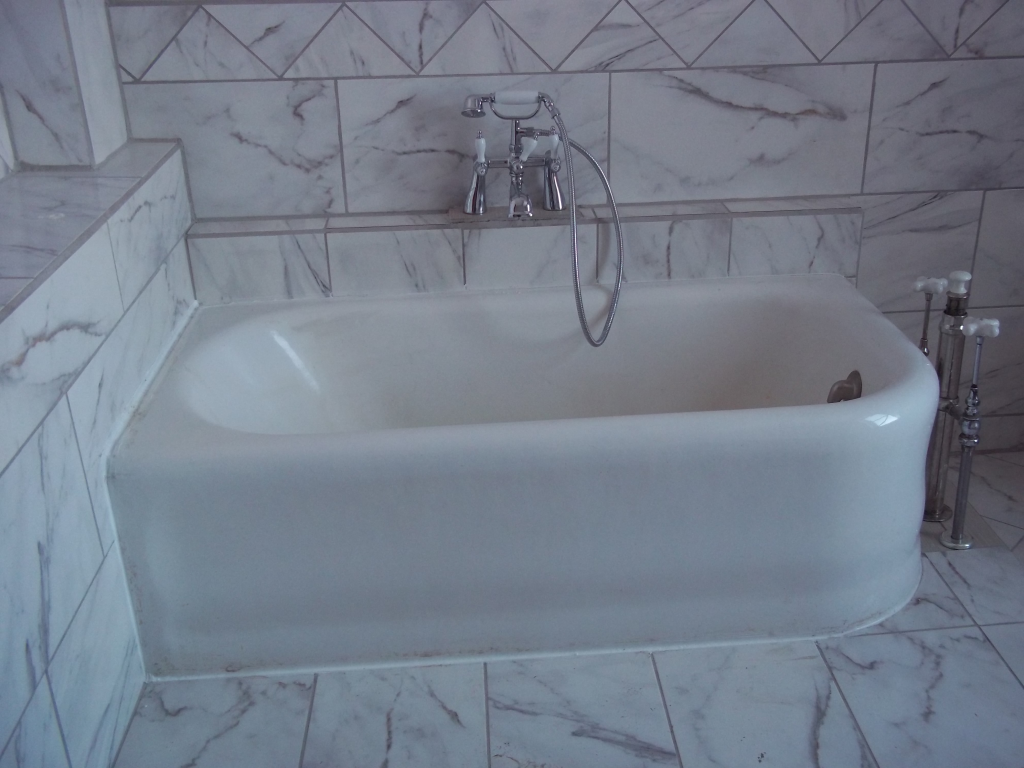
When I took the bathtub out of the old location, I discovered the “shoe” is designed to go under the floor. We decided to lift the tub four inches as I did not want to cut the tiles and rip up my floor. I purposefully matched the grout lines to this raised floor and backsplash shelf.
I have a small amount of woodwork to complete on the door trim.

These are the original doors with original varnish. Notice the unique pattern and the eighteen inch transit. Although this is now a bathroom door, I will not be painting the woodwork. Someone mentioned these doors reminded them of the doors in old railway stations. It might be a good idea to use an old railway theme in the hotel.
The blue tape is to remind me to touch up the grout work in the corner.
Not shown is the ventilation system. I ran a chase from the attic to each bathroom. Each room has its own separate vent so sound will not travel from one bath to the others through the vents. The chase has a two hour fire rating because they travel through the floors. My intent was to install a single mechanical fan to force air removal from the rooms. However, a mechanical vent may not be necessary due to the natural draft.
The original Kohler corner tub is dated Feb 10, 1928. I also moved the original “Tower” drain although not the original lead piping and trap. These will be exhibited in the future museum portion of the house. The overflow is an integral part of the drain pipe.
Floor mount taps surround the brass drainpipe. Faucets include long stems and porcelain cross handles. Because the spout enters the tub and soapy water can enter the tap, these are now illegal as fill spouts. Therefore, I plumbed them into the drain. The new fill is mounted on the side of this tub.
The sink is also a 1928 sink, but the date is October. This is an eighteen by twenty-four inch wide cast iron sink with a twelve inch backsplash. The drain stop lever in the center of the backsplash rotates the popup mechanism. I have not found anything like this on line.
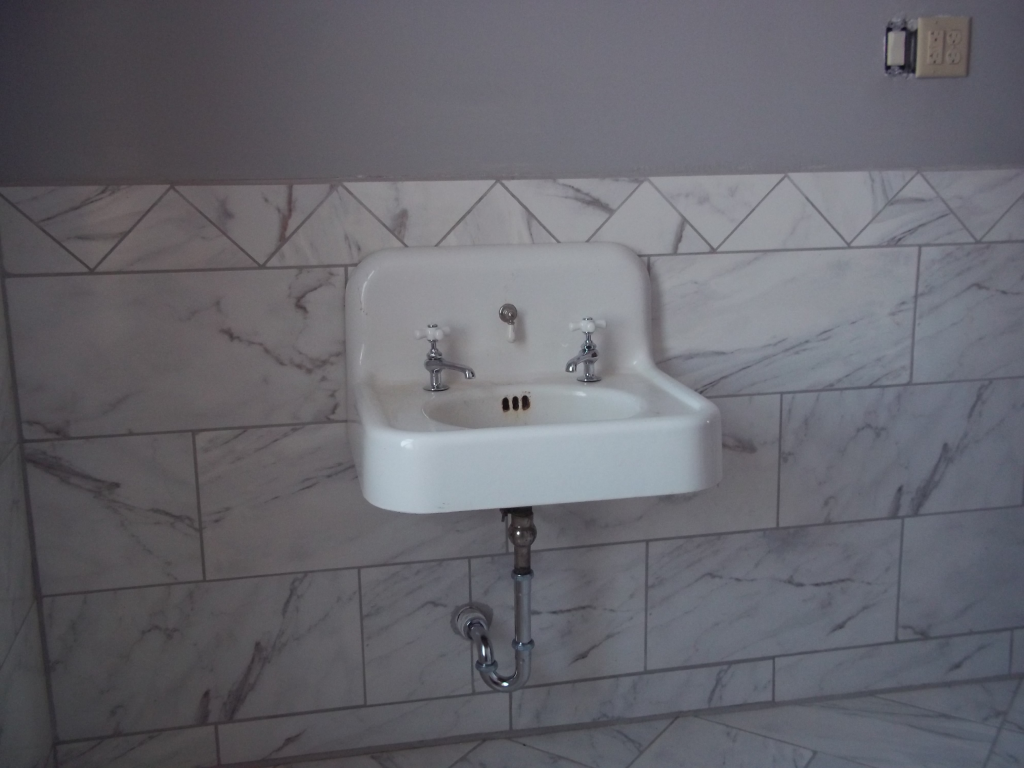
Although I have several ‘original’ taps, some spring loaded, I decided to buy new. I discovered how difficult these are to find.
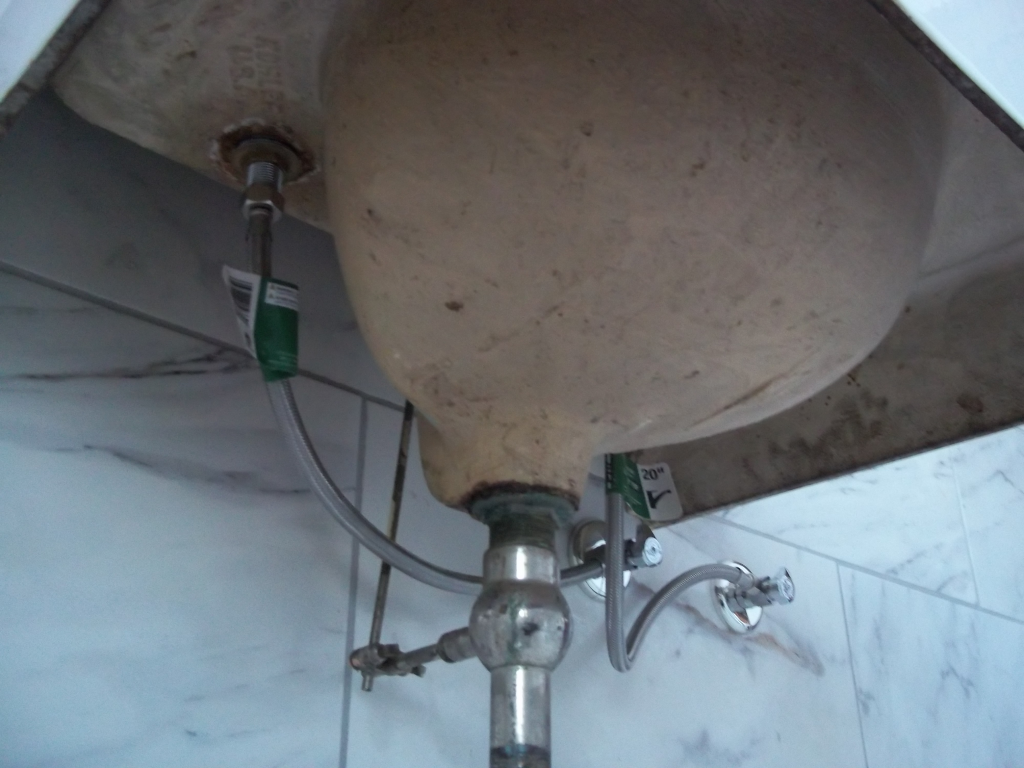
Note the ball in the drain pipe. I have twenty-four of these. The quarter turn taps are offset because there is a lot happening between these walls. This is as close as I could get the taps. The future laundry room is on the other side of this wall.
Having learned the going price of the tub and tower, and not being able to find the sink with a lever controlled popup, I determined to install one of the three wall mount toilets that I have. These have a low rise wall mount tank. I figured it would take three days to install one of these. I would probably need to create some kind of mounting bracket as I have not found the originals, yet. However….

When I began installing the bowl, I quickly learned that the old toilet requires a four inch flange. I have three inch fittings. So I went to the local store, bought the cheapest toilet I could find and installed it in an hour. Then I bought a different flush handle and seat to match the old stuff. This picture shows the original seat. The three wall mounts will be relegated to the three baths on the east side of the house (not yet plumbed).
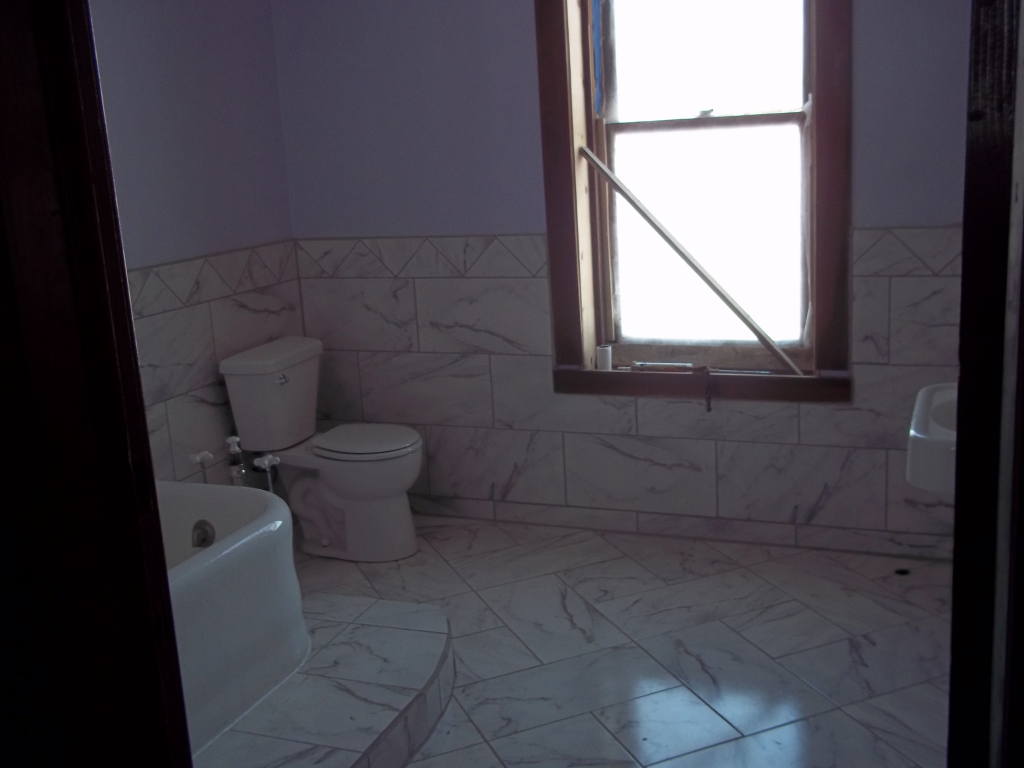
Camera’s view from the entrance. A little woodwork will complete the window sill. I ripped the original sill down the middle, than add a butcher block center to utalize the original plate while adjusting for the additional four inch thickness. The holes in the floor are for the future radiator. This house will keep its original one-pipe steam heat.
The bathroom is now ready to present to my wife for decoration, mirror placement, etc. Not shown are the 2×8 boards behind the walls for mounting grab rails, mirror, toilet roll dispenser, towel racks, etc.
Another hidden feature is the three pipe water supply system. The toilet is not connected to the soft cold water, so any flushing will never affect the water temperature.
Yes, it took a while to complete this bath, but as you can see, there is a lot of planning and detail work to match the quality as originally built.