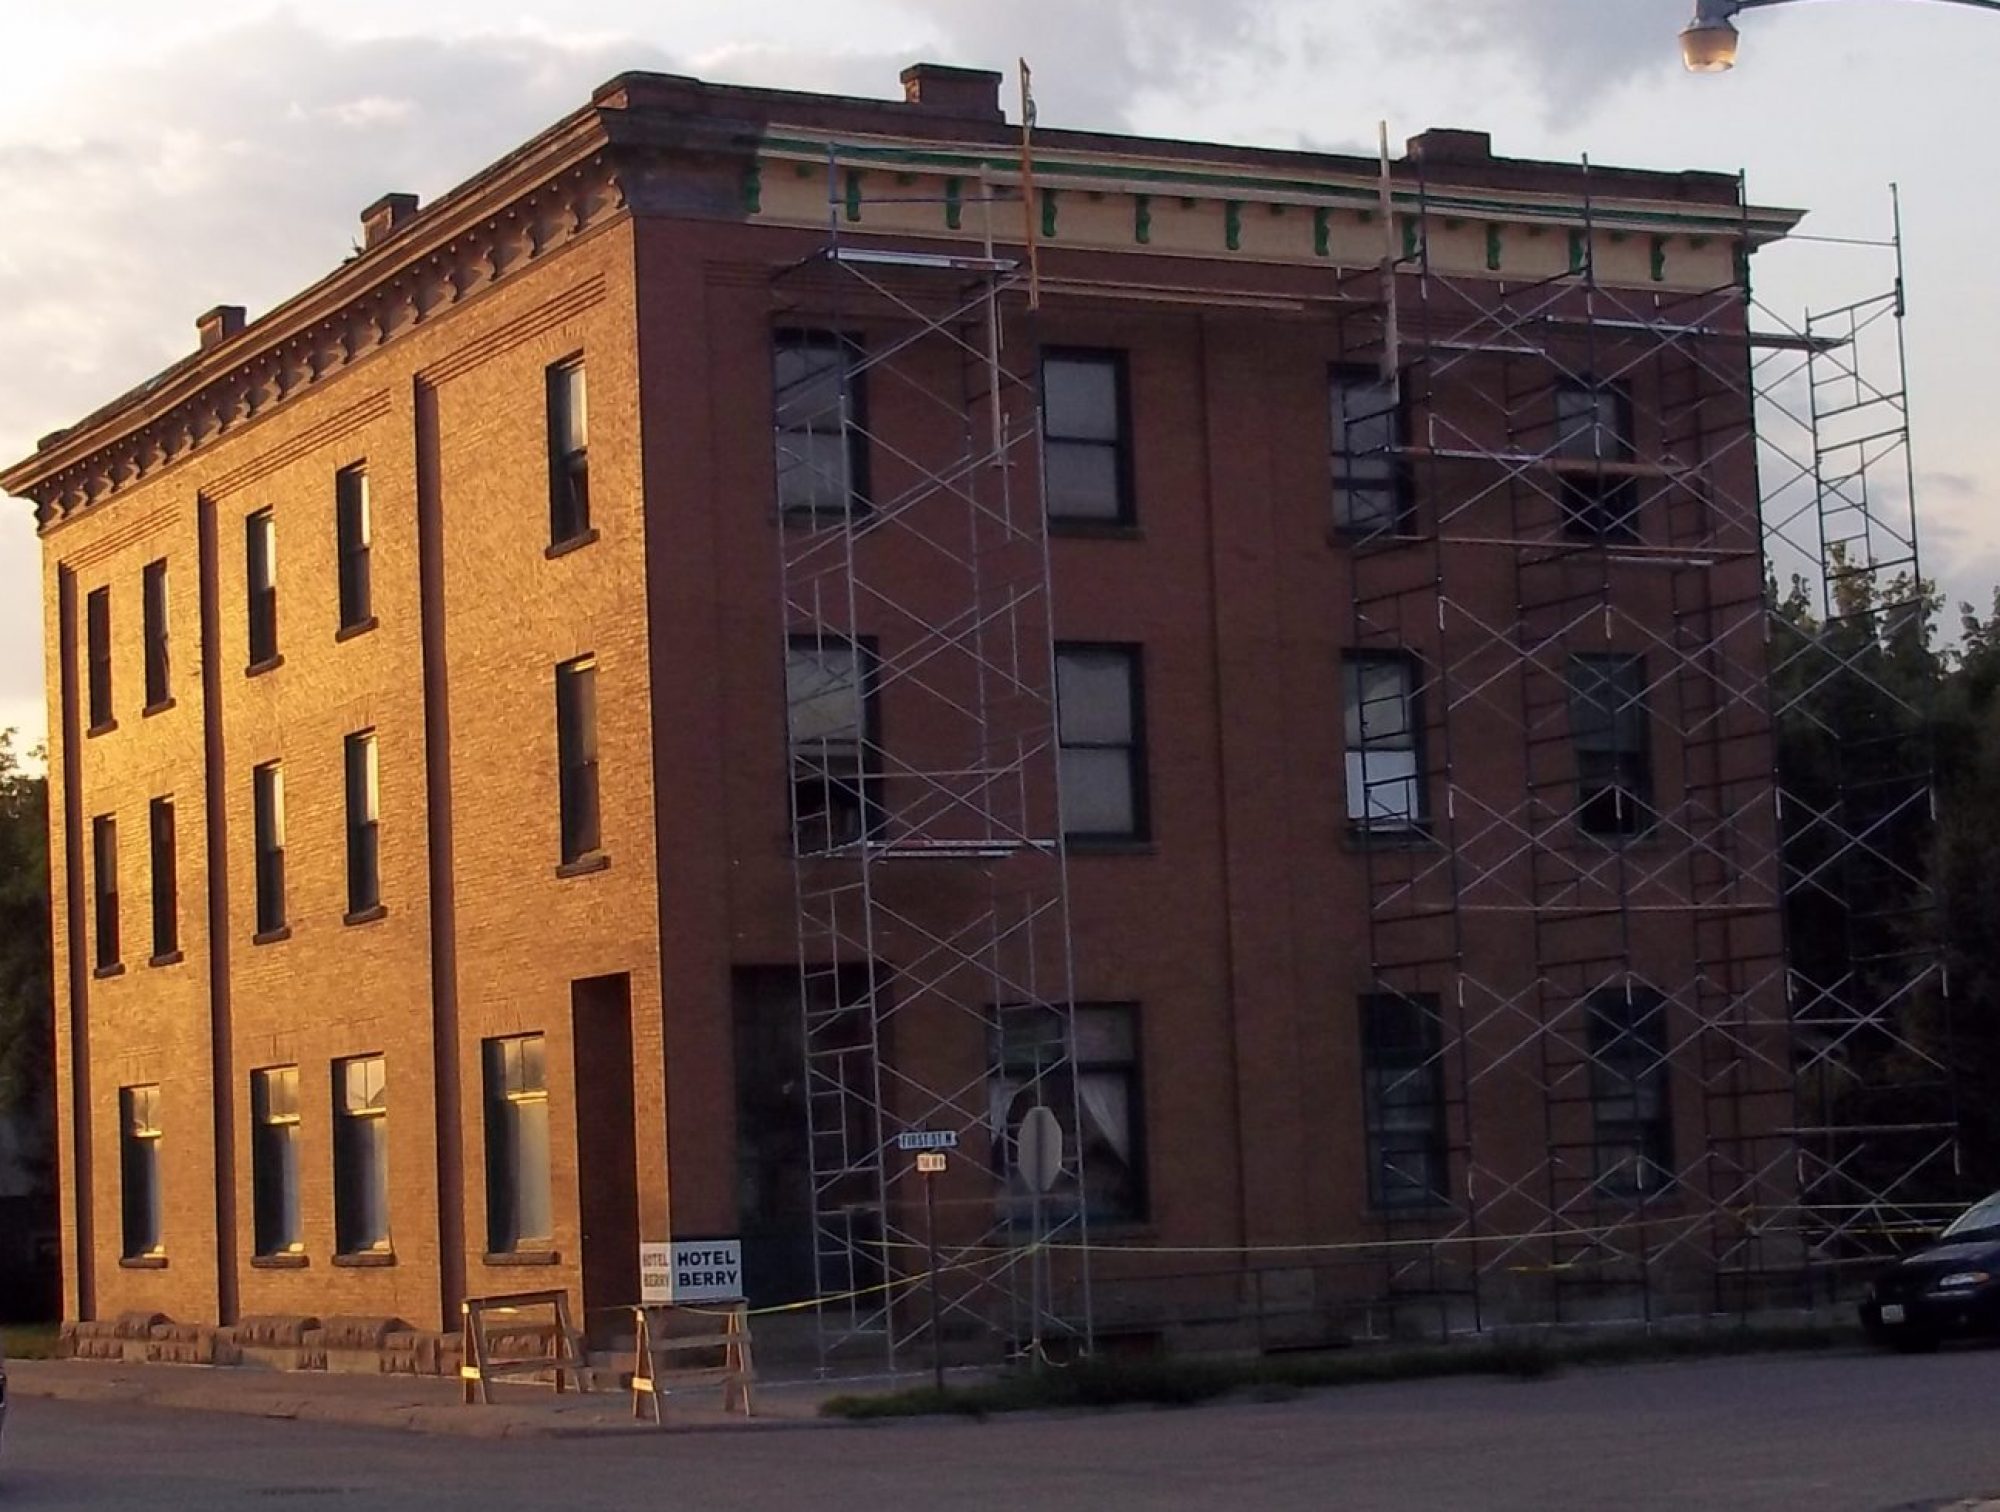
This picture brings back memories. In an earlier post, i showed how we had to repair the damaged floor nearly destroyed by a former remodeler, I mentioned that afterward, I brought 100 sheets of 5/8ths 4×12 and stored them on this floor. (Each sheet weighs 104 lbs.) . Here is where we use all but one sheet.
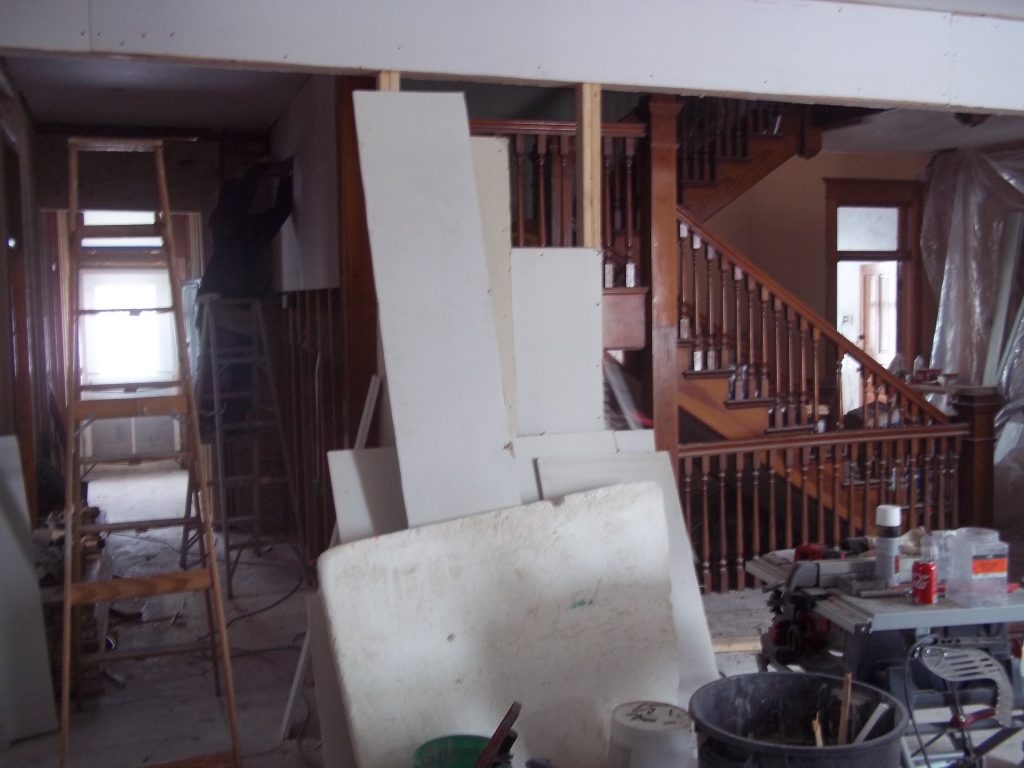
Theses walls on the west half of the second floor have all new sheetrock. There’s John, hanging the sheetrock. on the wall. The ceiling is also new.
The project expanded to include the entire hallway. I had hoped to be able to remodel only the west half of the second floor, but there was no good stopping point to split the hall, so we did the whole thing. We replastered the wall where it was looking rough surrounding the stairway and the east half. Lets see if I can explain what is happening in this following picture.
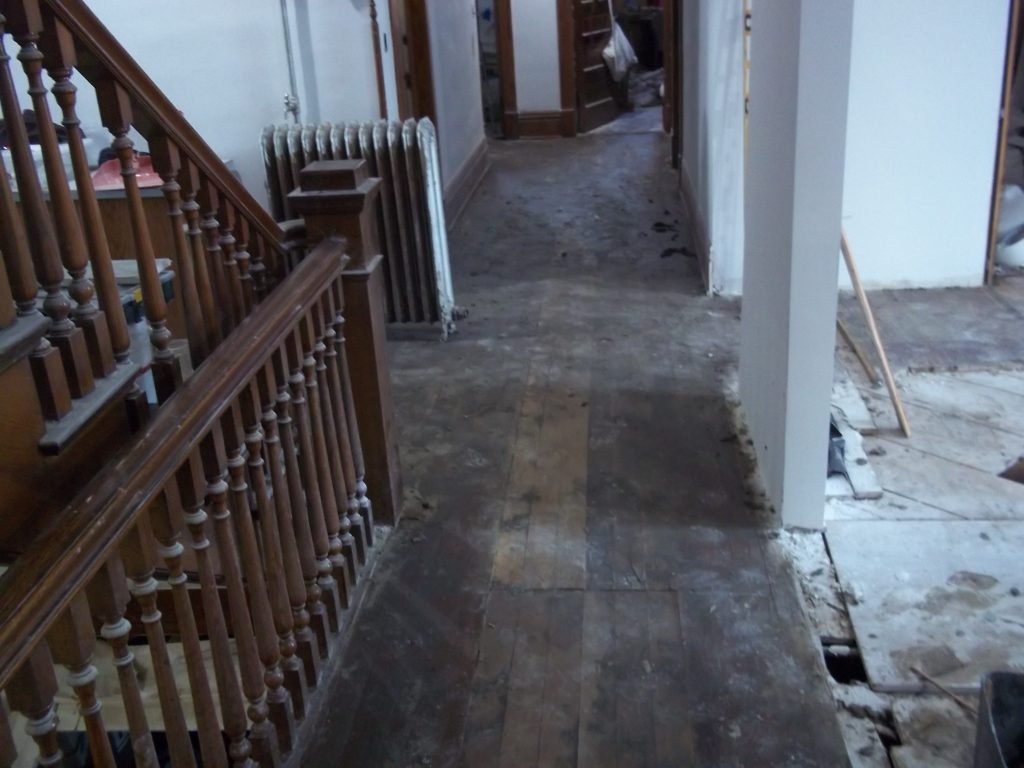
Here you see the stairway covered in drywall dust. We found that the stairway woodwork polishes nicely with simple water. The hall, looking east into the untouched portion of the second floor, has a three board wide white strip down the center. This is how the original electricians installed the knob and tube wiring. They then replaced the boards with pine. The linoleum covering the floor came up nicely simply by adding water to remove the glue. We assume the glue was horse hoof glue.
To the right is the post and beam system. There are two such posts holding the beam. This beam replaces the bearing wall. The radiator was used to heat the landing of the second floor. Because we insulated the building this radiator is no longer needed here. We will take it upstairs to replace the larger radiator now upstairs which will not be needed. The water spigot and pipe is original. (Well, original update) it is now disconnected, but am leaving it as it is part of the old fire suppression system. The walls to the left and down the hall are original lath and plaster. we replastered to cover the cracks. To the right, this wall is 5/8ths sheetrock. The ceiling on this floor is ten foot high.
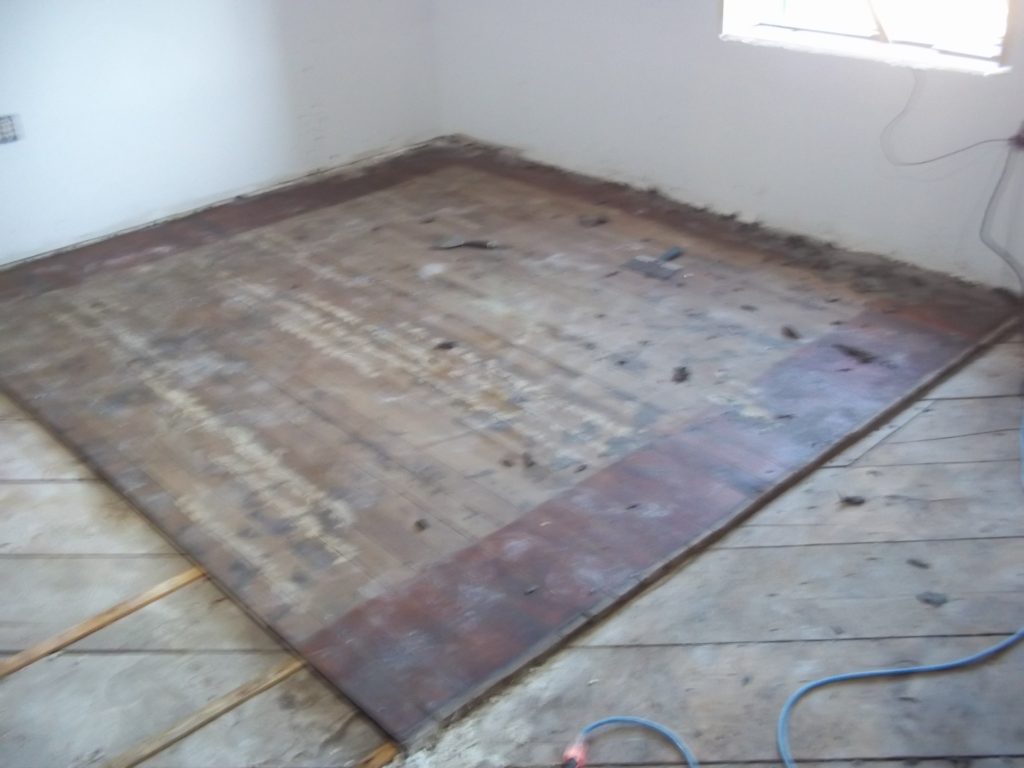
Here is the original floor after removing the walls to this room. We pulled this floor and the floor of five other rooms (No use keeping cedar floors under the tiles in the baths) The plan is to reinstall these original floorboards onto the large room.
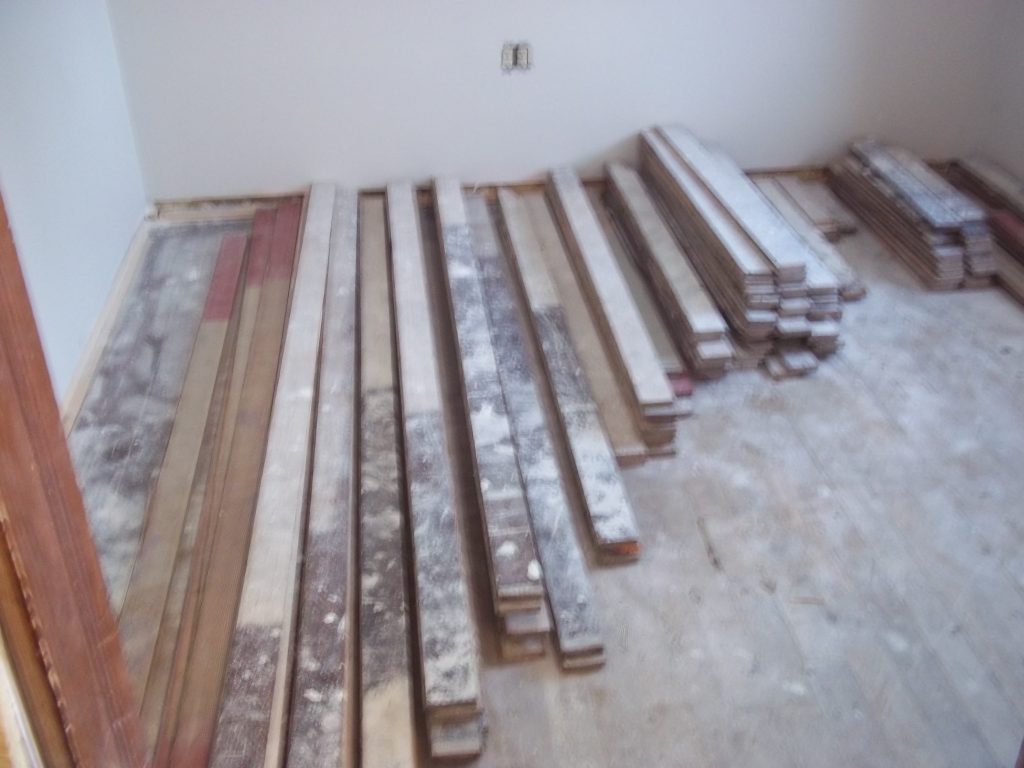
We stacked the floorboards according to size.

Then I pulled the subfloor. The plywood is the remainder of my former remodeler.
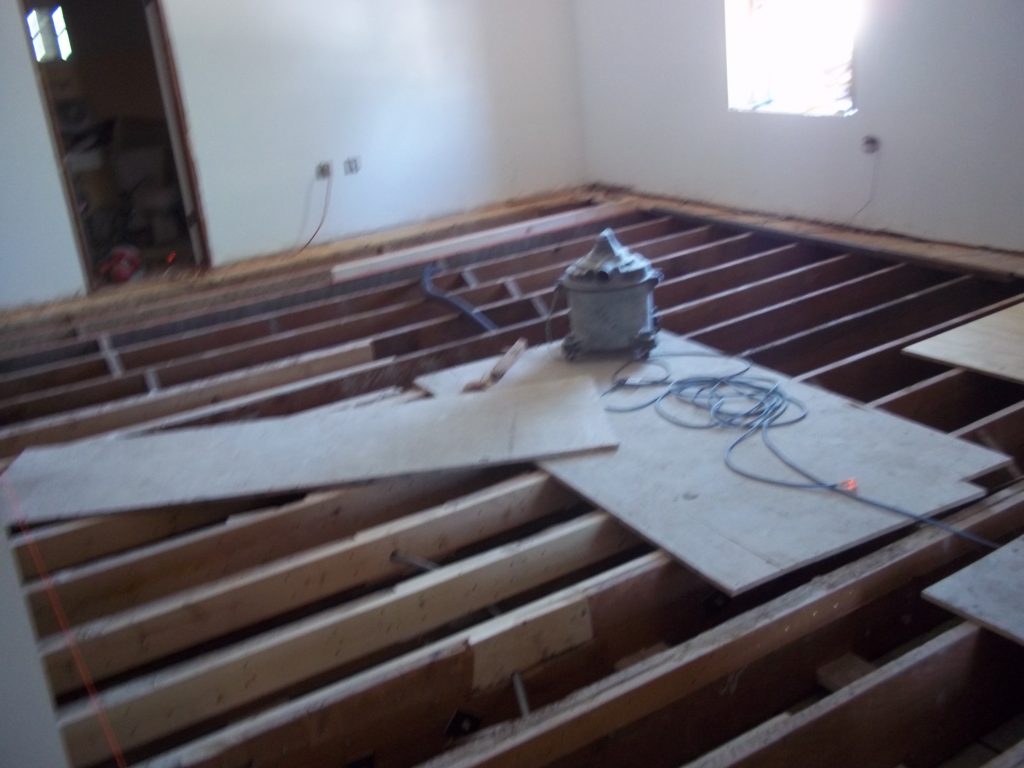
Because the room is 17 feet wide, and I will replace the subfloor with 4×8 tongue and groove sheathing. I cut the original subfloor one foot from the outside wall. This photo also shows the repair work of this floor. Oh ya, I had to run the conduit for the dinning room lighting downstairs. If you look close along the left of this picture, you can see an orange line used to determine the new height of the floor. I will explain later. But first…
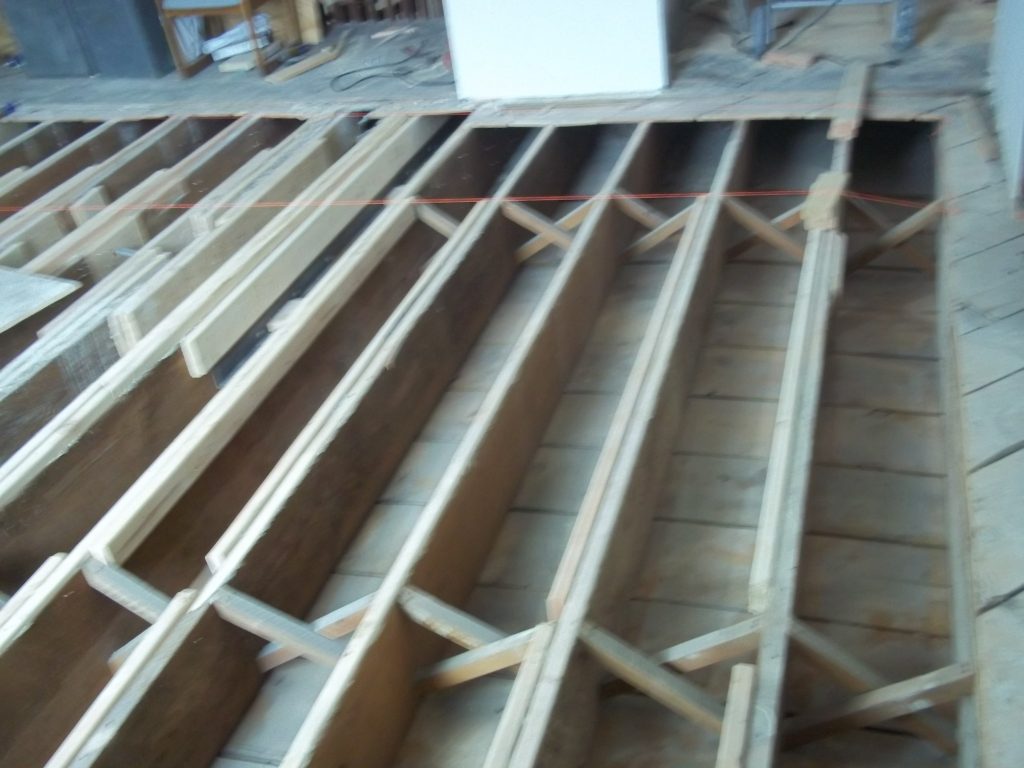
We vacuumed between the floor joists. Here you see something I did not expect. The ceiling below has a tin or metal ceiling. But they nailed that metal ceiling to a solid wood ceiling. One by twelves on the bottom of the floor joists hold the metal ceiling. No nailers, nothing in my books mentioned this kind of construction.
After one hundred fourteen years, the floor joist having a twenty four foot span. started to look like bananas. Also, with the abuse of former remodelers, (hackers) the floor was less than flat. So, I purchased a number of two by fours, and after some experimentation, determined that the best way to make the floor flat was to glue stringers along side the original floor joists. Now. the tops of the floor joists were flat and in line with each other. (Well, I might have been off by a 16th on an inch.)
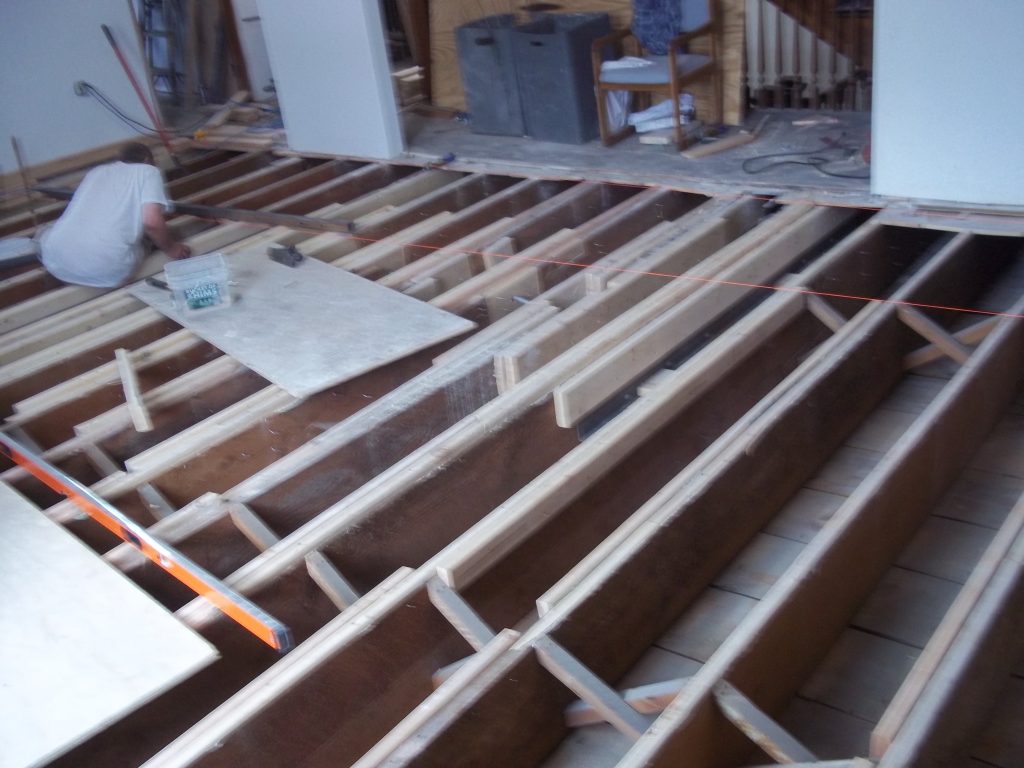
Here you see the string-line, a steel 2×2 ten foot long, and an eight foot level. I place the level and the steel bar across the floor joists, use that as the guide for gluing and screwing the sisters to the joists. Here, we also see Jamie vacuuming between the joists. Good work Jamie!
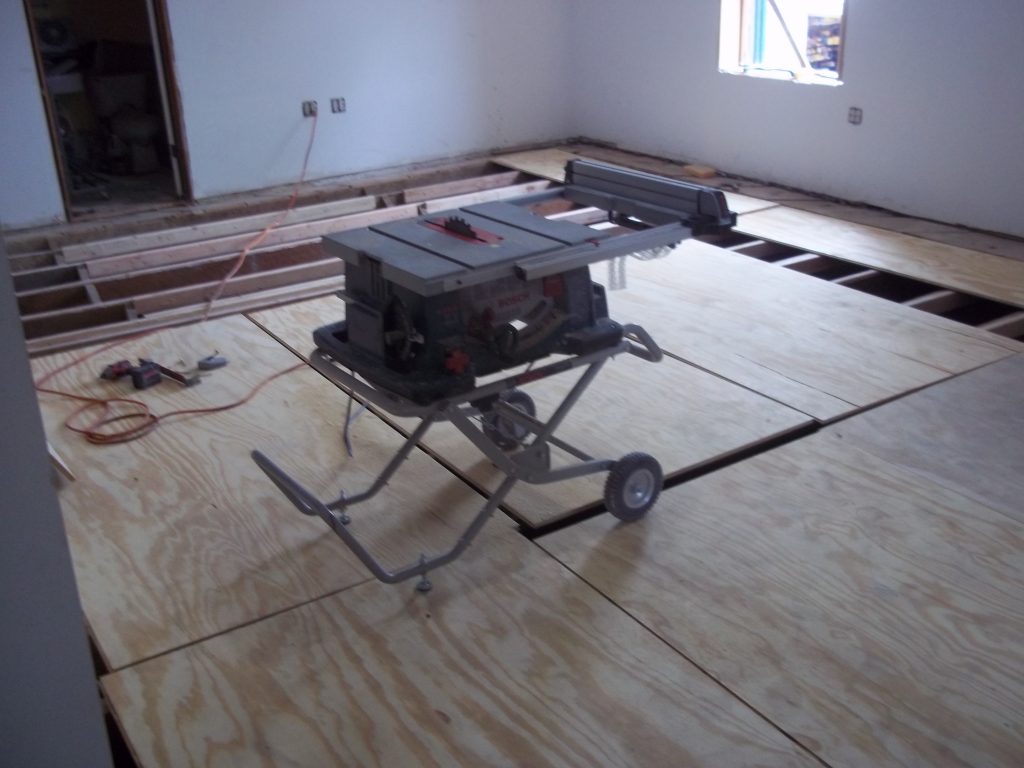
WE started at the south, outside wall, and worked our way to the north. Gluing and screwing the subfloor to the floor joists.
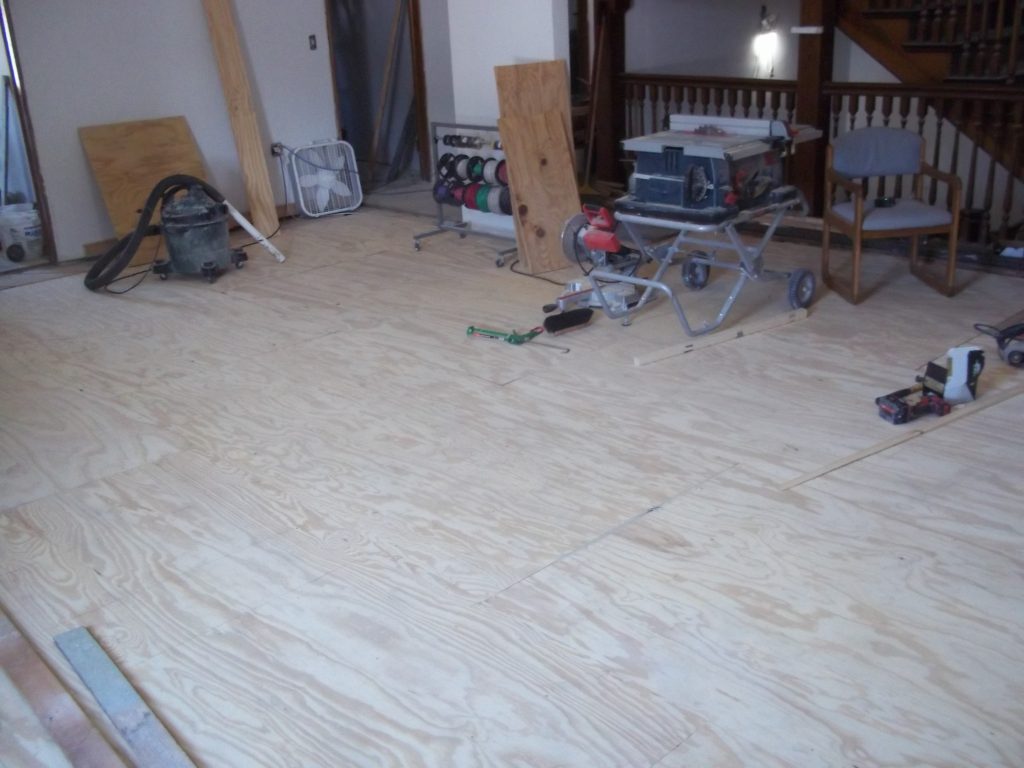
Now comes the detail work. we had to match the new floor to the existing hallway.
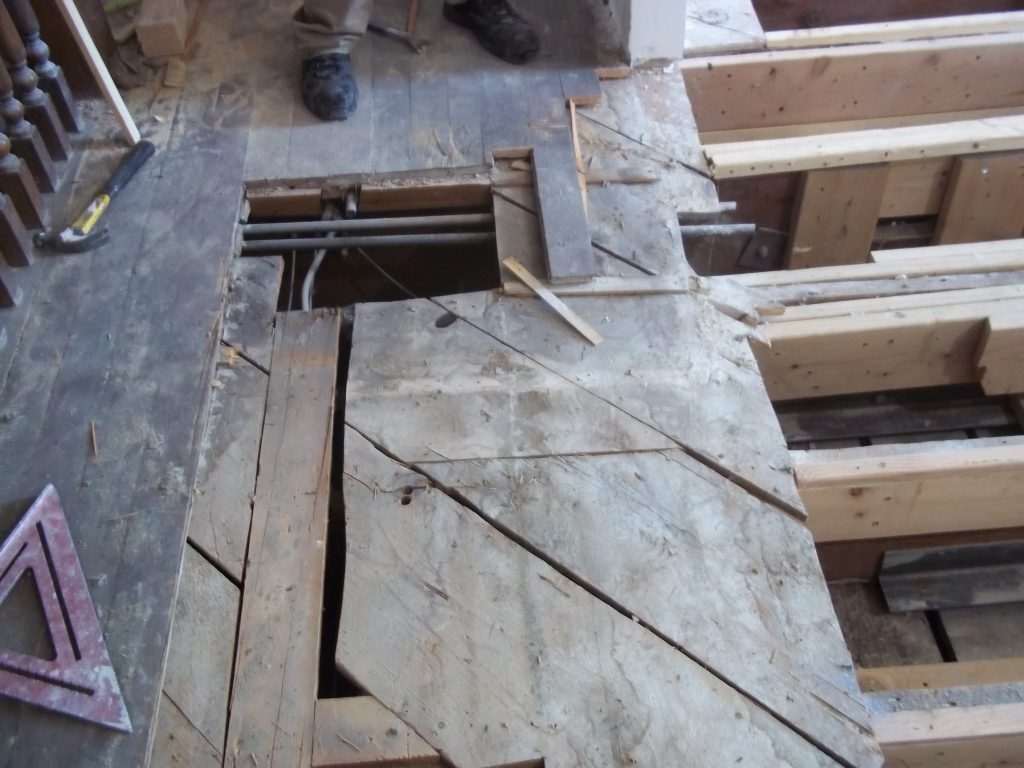
The hall next to the stairs, started out at a certain height but quickly sloped than sank as it met the former remodel catastrophe, coupled with age. We were forced to pull a portion where former plumbers and electricians left their damage.
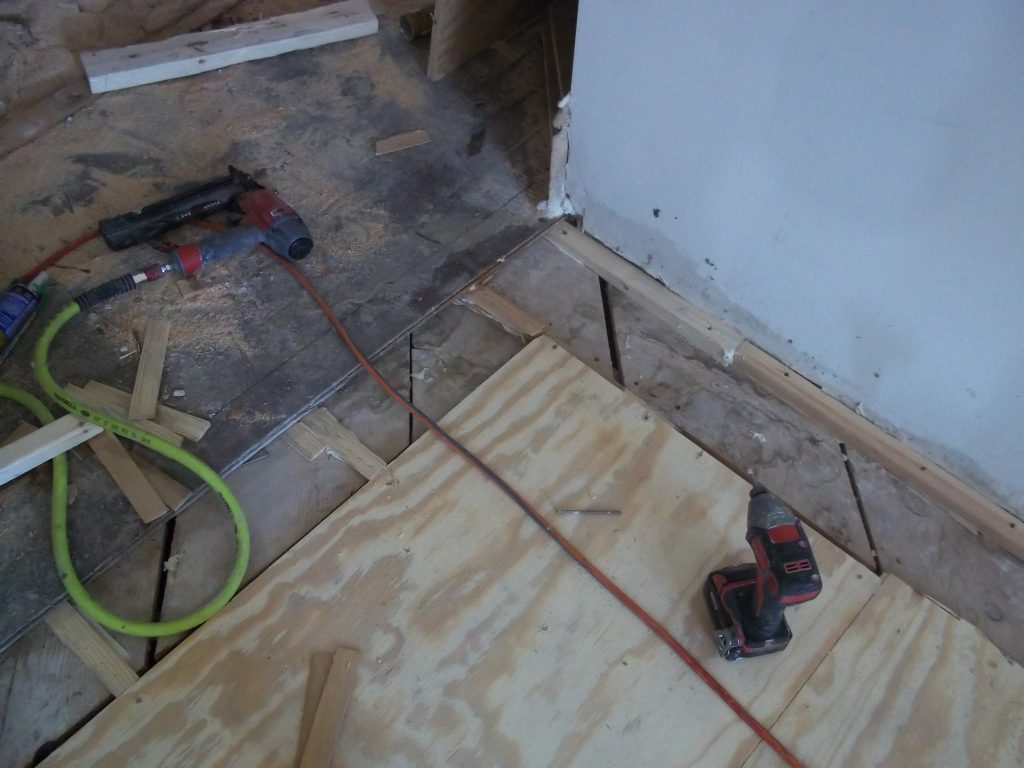
For some reason, instead of laying the flooring directly on the subfloor, the original builders used spacers (railroad tracks) to level the floor. Here, I used shims to pick up the hallway flooring match the new subfloor. This leveled the old hallway floor without having to relay it. The result was a match except for this corner where I was not going to remove the wall.

This picture shows where the original sewer pipe was installed. It took a lot of thinking, but we were able to marry the old with the new. This is where the damage was greatest. we needed to bring the floor up about an inch and a quarter. After we brought the floor across to the “hump” of the hallway, we brought the level out to see how close “flat” was to level. It is an old house and I was pleased to see that the entire floor was also level. What a bonus. Two months of prep work completed. Now for the floor.
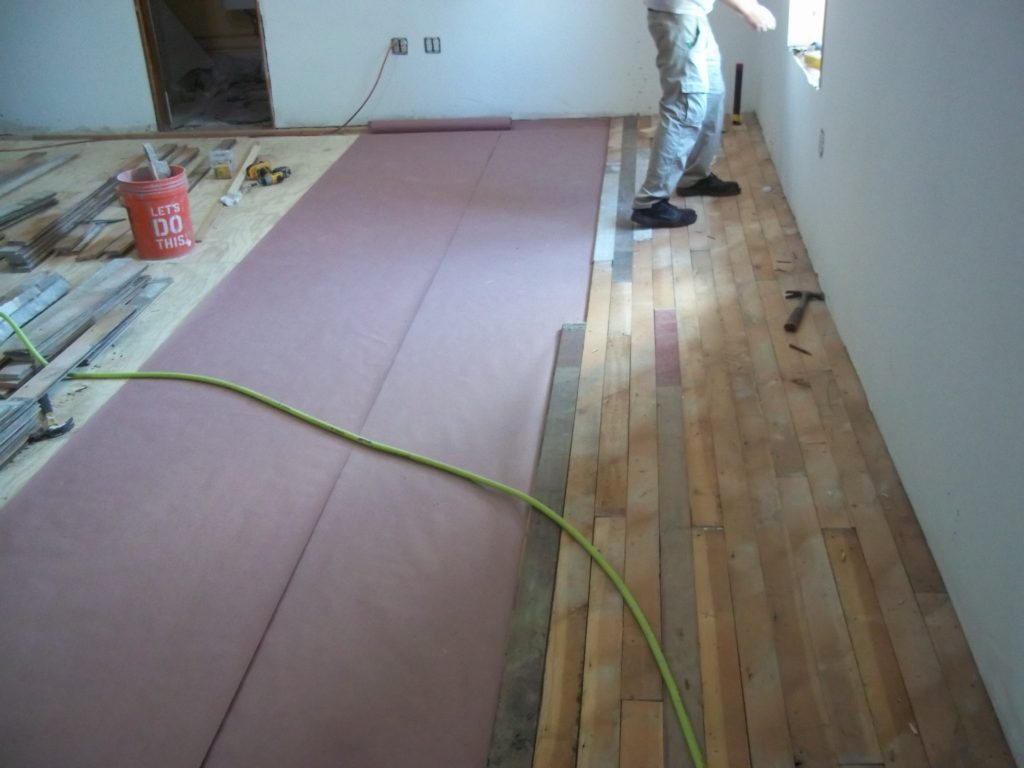
Used Cedar Flooring has interesting characteristics. We started by using the back side. but then decided to use whichever side was best. we used the wood from five or six different floors, each with a different finish.


This scared my wife, Cindy, when she came up to look at it. All those colors.
Then we sanded.

I color coded the outlets so I know which side of the transformer I am on. this way I could run two sanders without blowing any circuits.
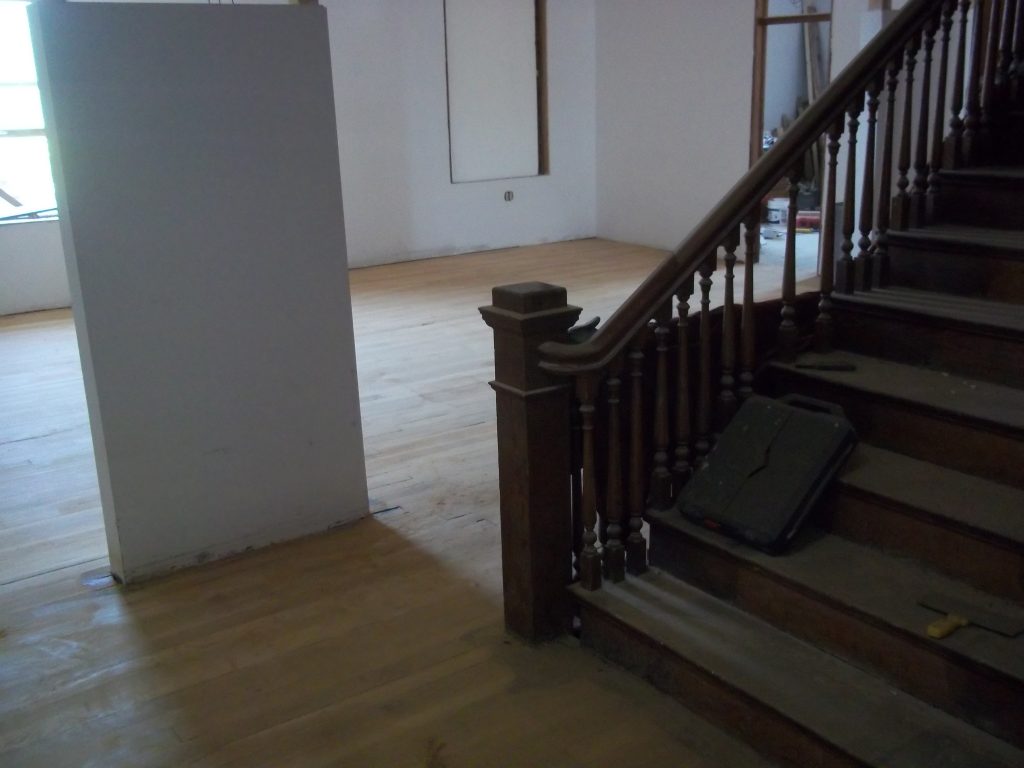
We are working the entire floor as one piece. This includes the bedrooms: about one thousand square feet of sanding.

So this is the update for now. By the way, I counted some of the grain in this floor. These three inch wide pieces of floor boards (ten foot long) represent between forty to fifty years of growth. Oh, take a look at all the knots.
Next, I spent a couple of days gluing sawdust into all the cracks. This is like using a toothbrush to polish a floor. I found potential slivers which I also glued.

Then we sand. 60, 80, 100. I did not know wood could polish so well.
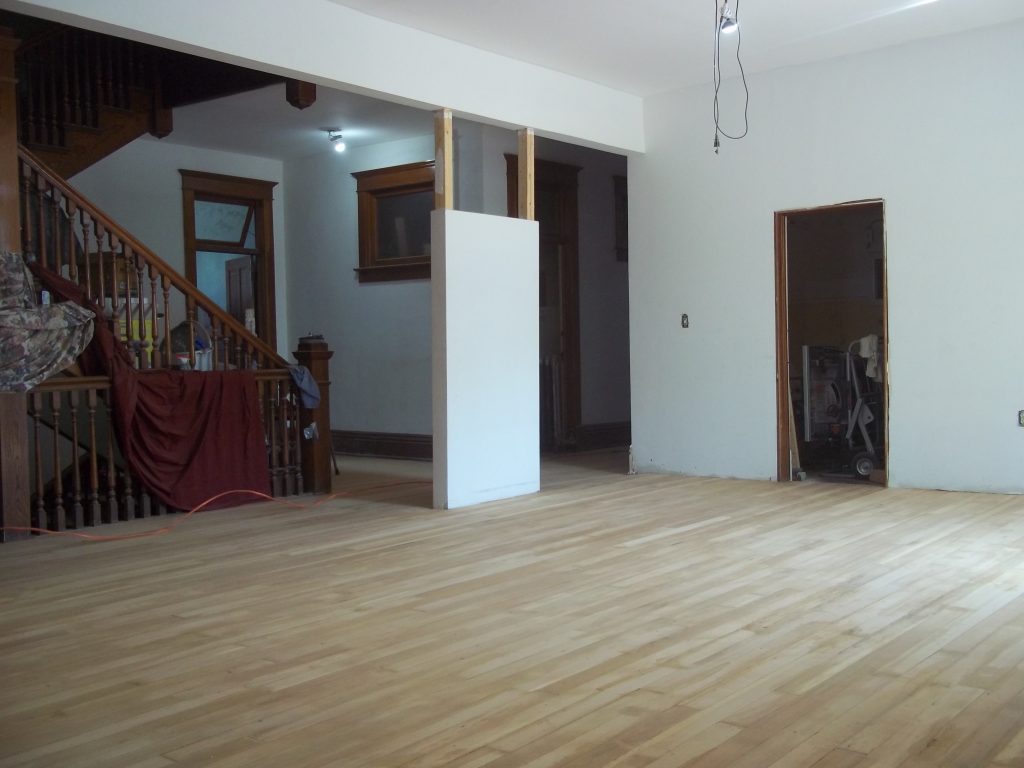
This is still after the sixty grit. But it shows more of the room. That small room that looks like storage, was a bath. It will become a kitchenette. The temporary lights will be replaced with ceiling fans. After we seal the floors, the walls will get painted. (the primer is on) then I get to install the doors and woodwork. You can see some of the original woodwork along the hallway.
Now with two coats: I am using oil base, Gymnasium varnish, high gloss.
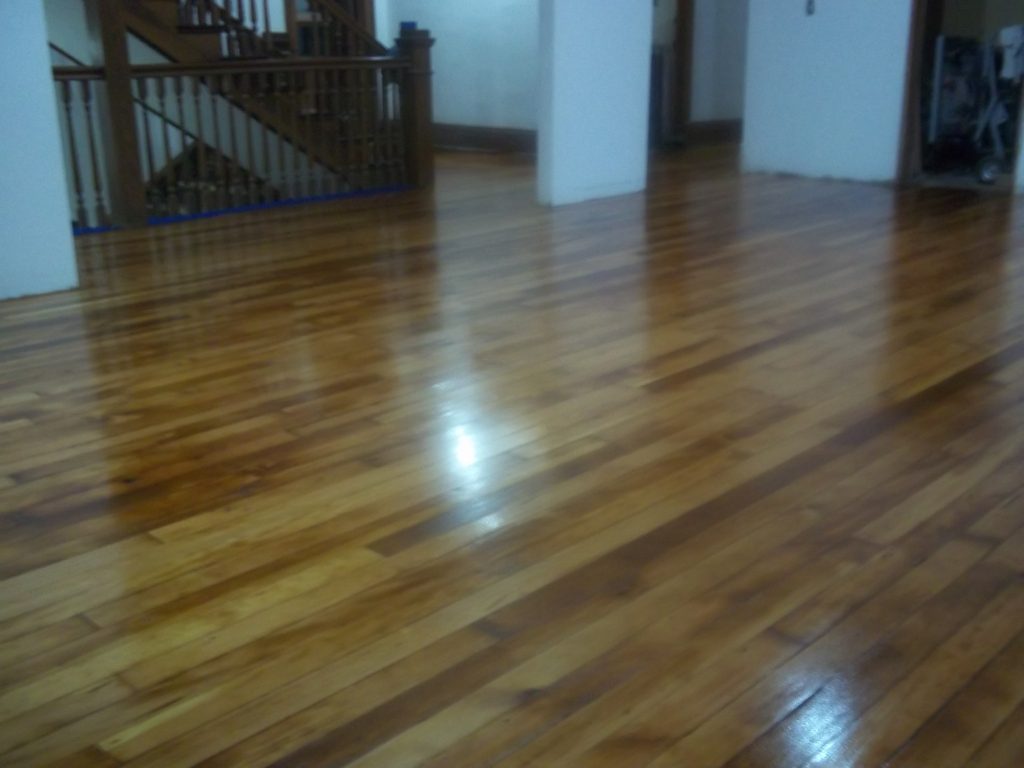
Entering from the fire escape:
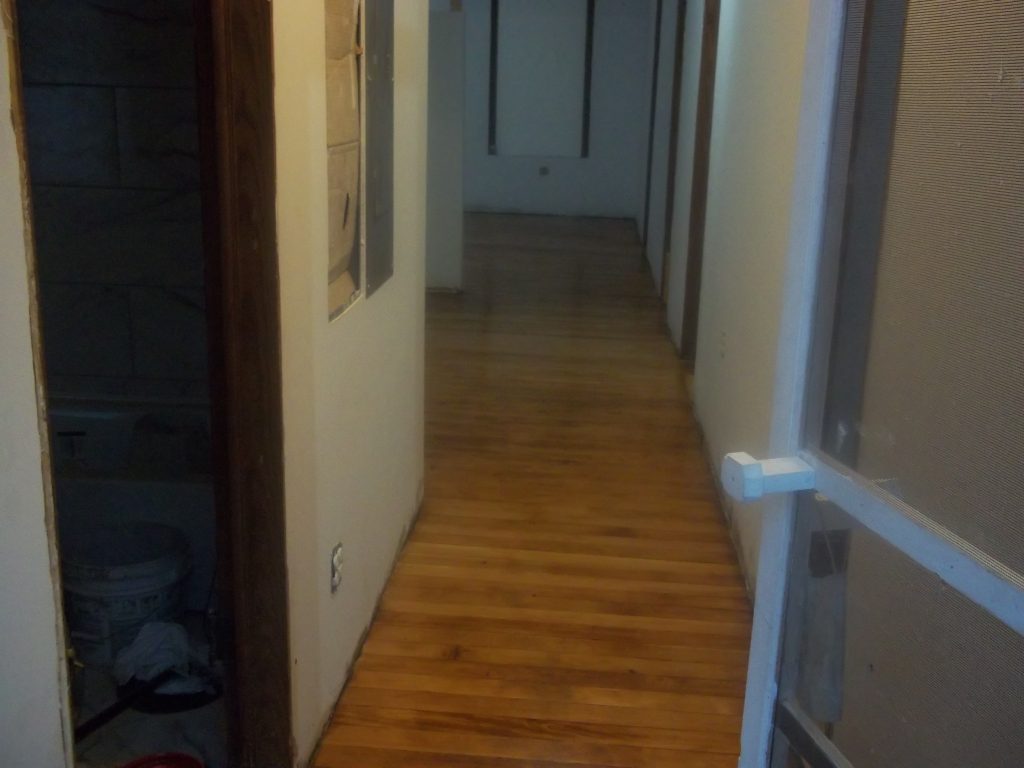
Looking east down the hallway: (oops a little fuzzy)
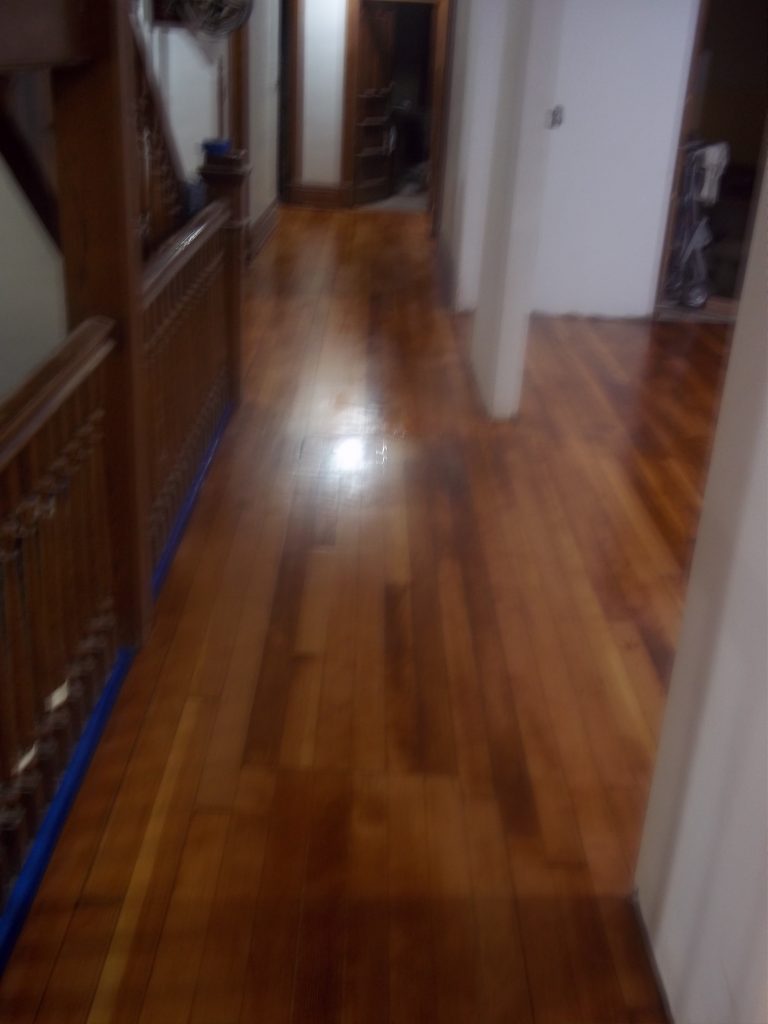
The stairway landing:
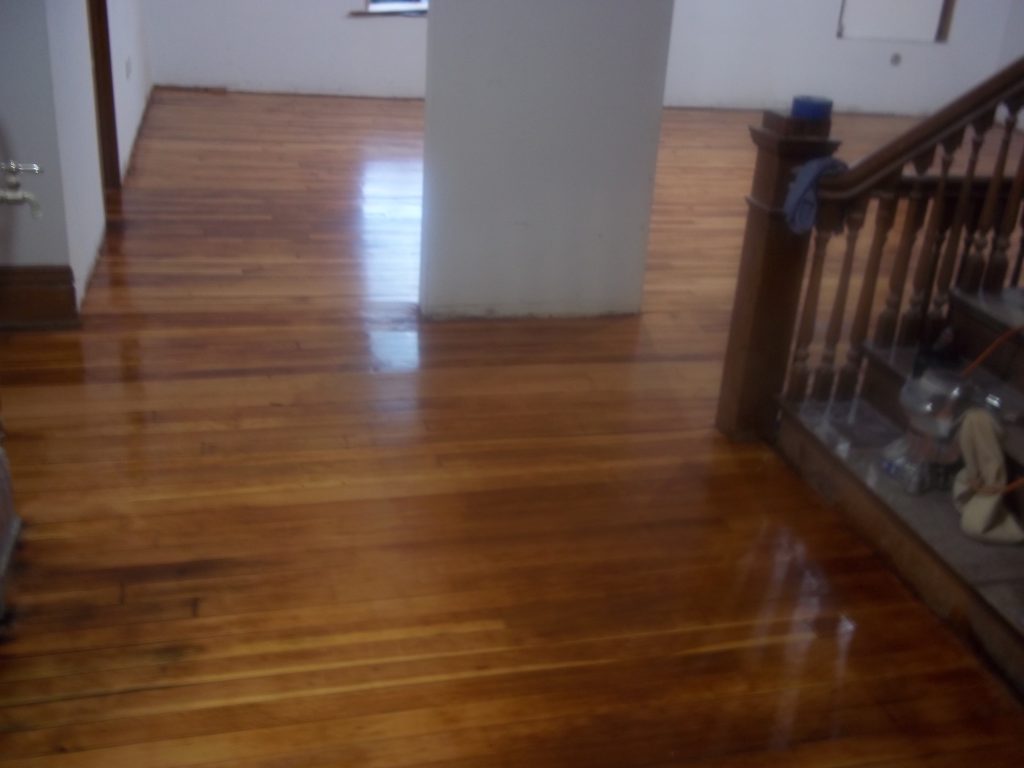
The east hall looking south: (fuzzy):

The hall looking west:
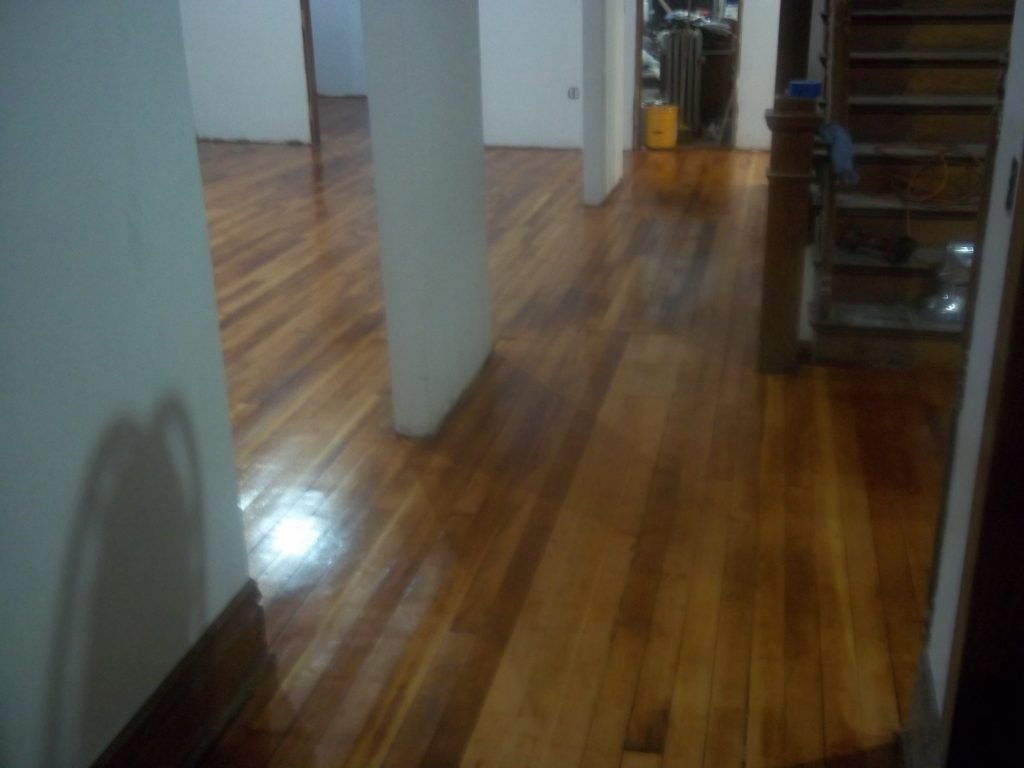
and one of the three rooms:

Two coats down, three to go.